A Local Guide to UK Stationery Shopping: Independent Shops, Markets and Online Retailers
October 09, 2026 - Stationery
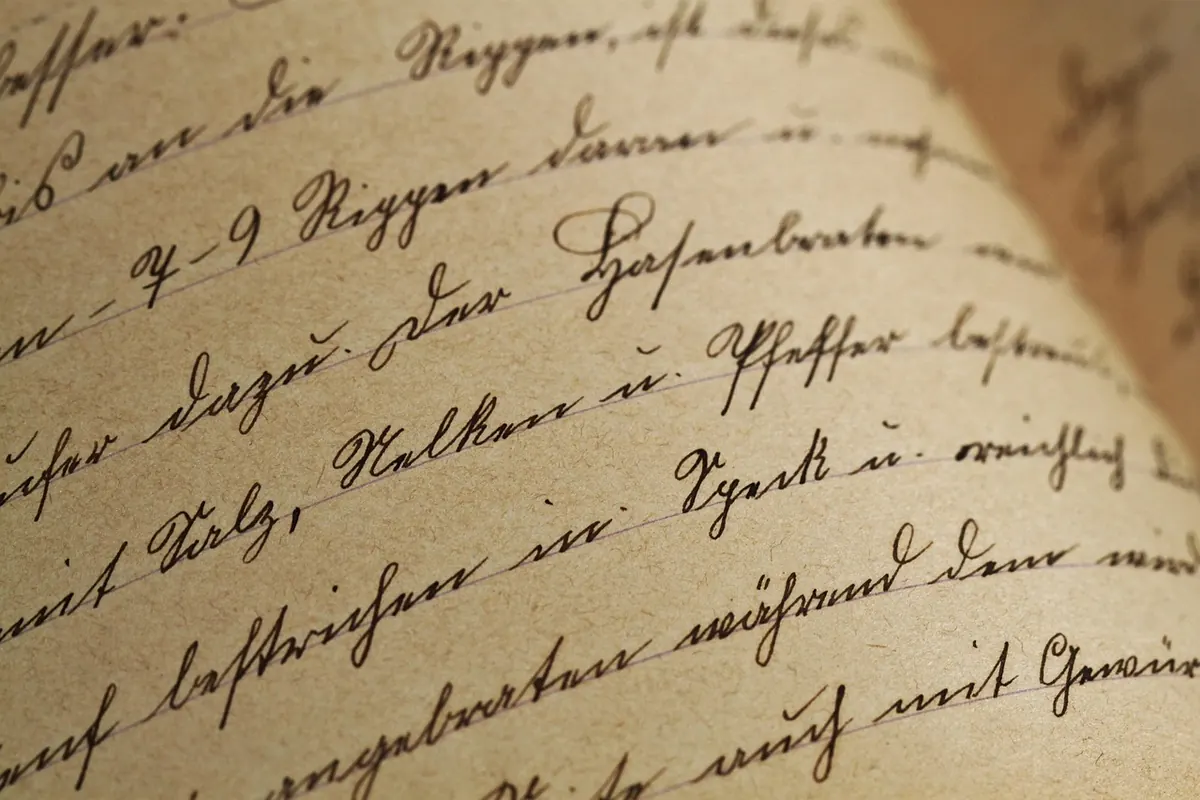
Most handwriting problems are not mysterious. They come down to three things: a grip that tires your hand, a pen that fights the paper, or a speed your letterforms cannot hold. Change any one of those and your writing looks better on the page without a single lesson in a new style.
None of the advice below asks you to write like a Victorian clerk. The aim is legible, comfortable, quick writing you can use on a shopping list, a form at the surgery or the back of a birthday card. That takes a few weeks of small, deliberate practice — about ten minutes a day is plenty.
Take the pen you use every day and write a short paragraph on lined paper. Then read it back as though someone else had written it. Most people spot two or three repeated faults rather than dozens:
Pick the fault that bothers you most and work on that one. Trying to fix everything at once produces slow, self-conscious writing that vanishes the moment you are in a hurry.
Posture decides how long you can write before your hand aches. Grip decides how neat the letters stay once you are tired.
Sit close enough to the desk that your forearms rest on it. Feet flat, knees roughly level with the hips, back supported rather than rigid. Your writing hand should sit below the writing line, not hooked above it. Right-handers generally rotate the page 20 to 45 degrees anticlockwise; left-handers rotate it the other way so the hand passes under the line just written. When you reach the end of a line, move the paper rather than twisting your wrist.
A comfortable tripod grip: thumb and index finger pinching the barrel roughly 2–3cm from the tip, the barrel resting on the side of the middle finger, the other two fingers curled loosely underneath. The test is simple — someone should be able to slide the pen out of your hand without a struggle. If your knuckles go white, you are pressing too hard, which usually means the pen or the paper is working against you.
Move the pen with your forearm and shoulder, not your fingertips alone. The fingers do the small work; the arm carries the pen along the line. This single change does more for tiredness during a long letter or a page of notes than any amount of copying out alphabets.
Keep drills short and specific. Ten focused minutes beats an hour of aimless scribbling.
Pens are not neutral instruments. The barrel, the ink and the way the tip meets the paper all change how your writing looks and how quickly your hand tires.
Aim for a barrel around 9–11mm across, or a triangular grip section if you tend to grip tightly. Smaller hands usually do better with slimmer, lighter pens; heavier pens suit writers who prefer a slower, more deliberate hand.
Cheap, thin paper makes wet ink feather and bleed, which ruins a neat line. Look for smooth paper of around 80–100gsm. Ruled spacing of about 7–8mm suits most adult handwriting; dot grid gives structure without heavy lines. Left-handers should favour quick-drying ink and keep the heel of the hand below the words just written.
Drills build the shapes; everyday writing builds the habit. Slow down by roughly a fifth when you write a card, a shopping list or a note to a colleague, and let the letterforms finish before you move on. Writing slightly larger helps too — cramped writing is usually a size problem rather than a skill problem.
Keep a notebook and use it daily, even for mundane things: a to-do list written by hand, a few lines about the day, the shopping list. Consistency matters more than style. If joined-up writing is not your natural hand, there is no need to force it; clear, evenly spaced print is perfectly legible and often faster.
One sensible note: if your handwriting changes suddenly, or writing brings pain, numbness, cramping or tremor in your hand, speak to your GP rather than practising through it.
Start with a baseline: write one paragraph and keep it, so you can compare later.
Keep the pen you like. You will write more with a pen that feels good in your hand, and more writing is what improves handwriting. After a month, compare your latest page with the one you saved at the start.
Photo: cocoparisienne / Pixabay
Where to find good stationery in the UK, from independent shops and market stalls to specialist online retailers,...

A practical guide to starting letter writing: choosing simple stationery, finding a reliable pen pal, writing a...
Copyright © 2026 Inkwell Lab. All Right Reserved.